Permission Management
note
In this demonstration, we only focus on how to complete the connections between role and permission. Keycloak can do so much more, please refer to Keycloak for more details.
Adding Role
- Select System > Authentication, and then enter admin/admin to log in to Keycloak.
- Select supos as the realm.
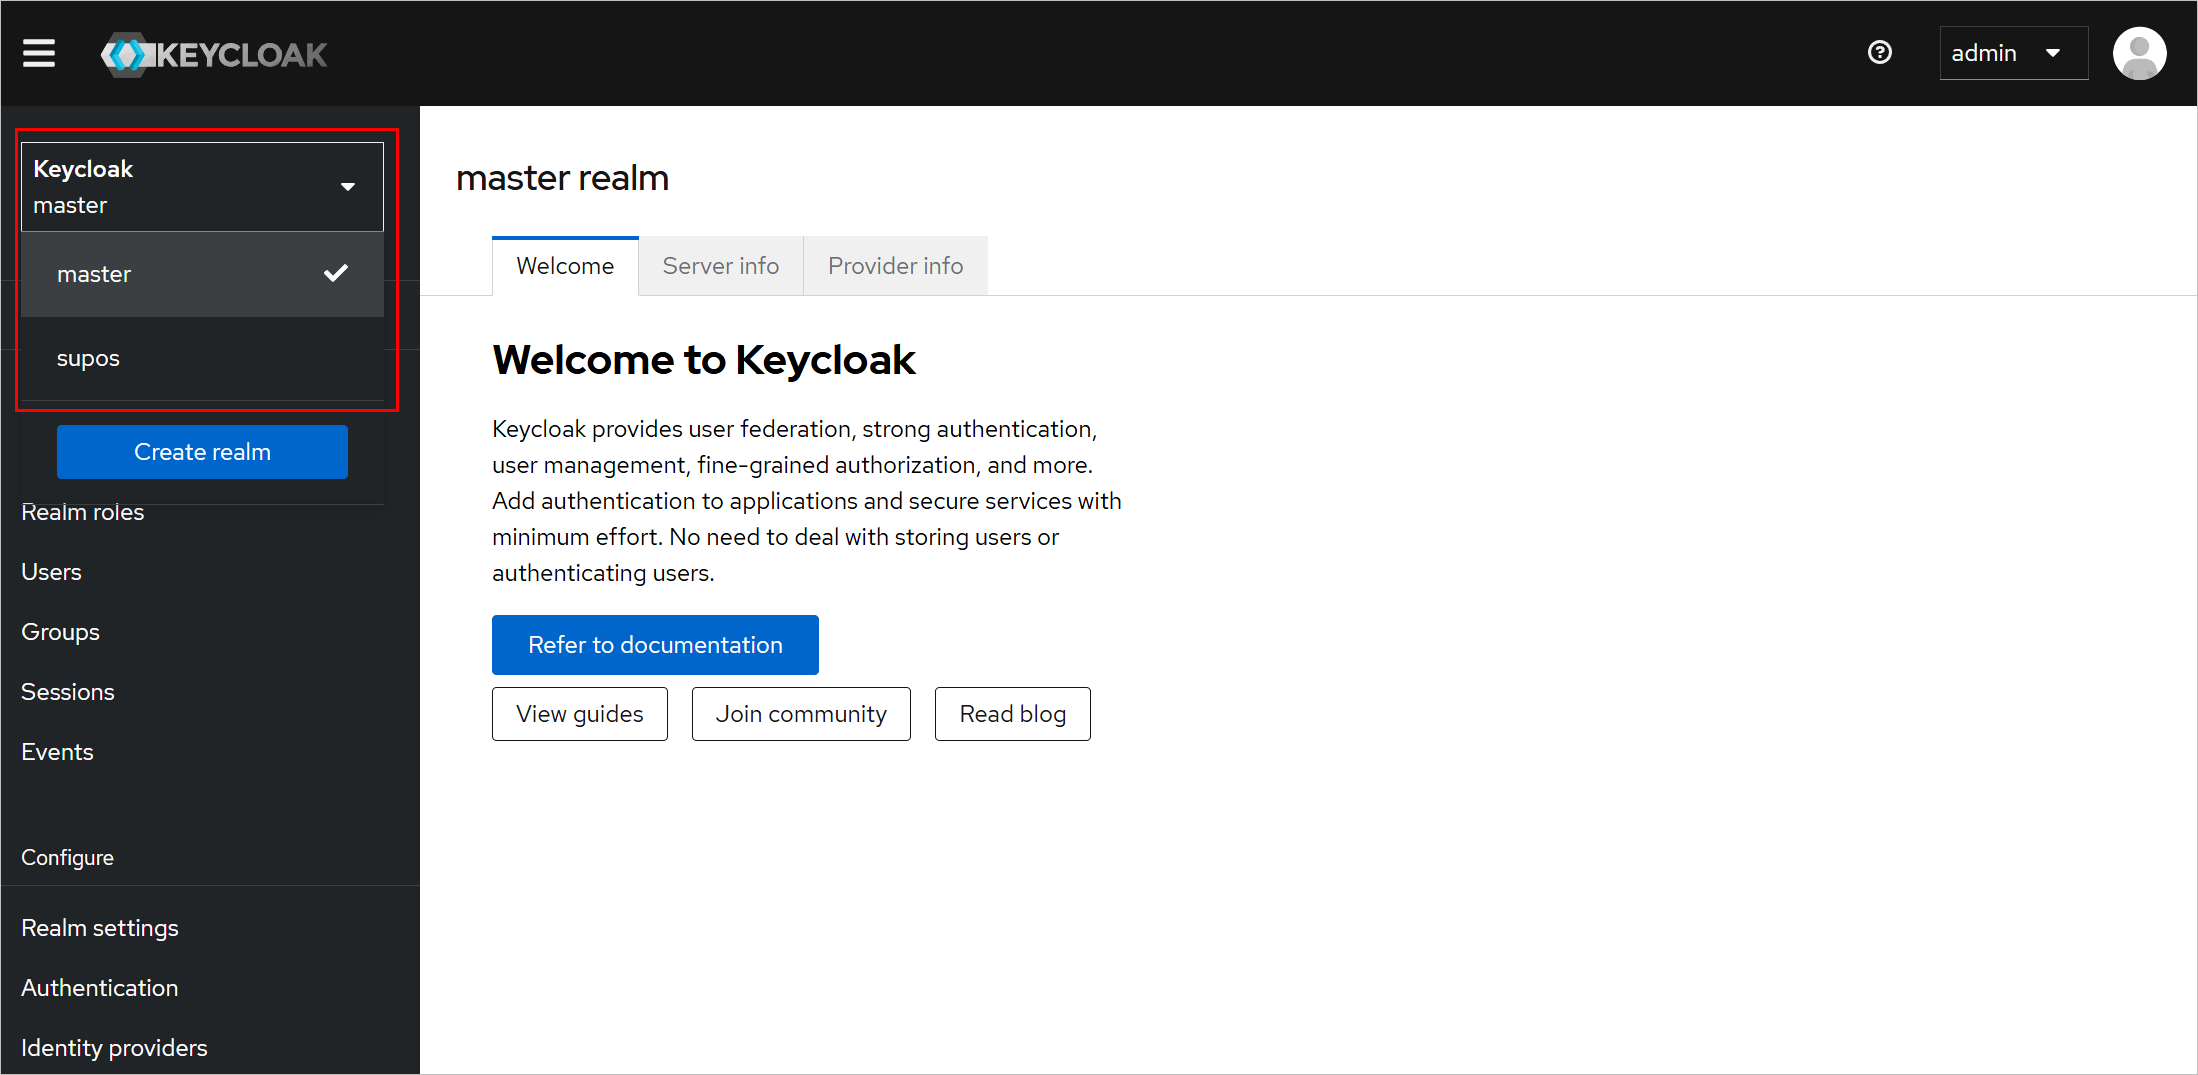
- Select Clients, and then click supos.
The realm and client are preset, you can also add new ones as needed. ::: 4. Under Roles, click Create role to add a new role.

- Click Save.
Assigning Permission to Role
To assign permissions to different roles, you need to first define the resources to be accessed, set policies of how to and who can access, and finally configure permissions.
Adding Resource
- On the client details page, select Authorization.
- Select Resources, and then click Create resource.

- Enter the required fields, and then add URIs which are the resource path.
- Click Save.
Setting Policy
- On the client details page, select Authorization.
- Select Policies, and then click Create client policy.
- Set the policy type to Role.

- Enter the required fields, and then select the role you want to grant access to.
info
For example, select role A, that means, only users assigned with role A can access the resources associated with corresponding permission.

- Click Save.
Configuring Permission
- On the client details page, select Authorization.
- Select Permissions > Create permission > Create resource-based permission.
- Enter the required fields, and then select the resource and policies.

- Click Save.